Myna
Document processing system for organizations and Telegram bot management module.
Publication of information about this project is made with the permission of the copyright holder and the management of the company where I was the executor.
So, the task: There is an organization that wants to put all its documents in order, and most importantly, improve and often “simplify” them by creating lighter versions, create a new document registry, and give access to them to a Telegram bot that would provide links to documents and give short summaries without the need to open full versions. This should be a convenient, secure, and modern web application with full user account control, history, logs, tools for processing, sorting, and converting documents, the ability to maintain a proper data collector, and manage the Telegram bot.
Challenge accepted. The entire development from the first line of code to the final release (the MVP was ready in a month) took exactly two months.
This article is a demonstration, and this project will not work anywhere except the customer's organization.
First of all, I came up with the project name, Myna — firstly, it is the name of the Myna bird, of which there are many in Almaty; they are very capable, smart, and most importantly, can repeat the sounds of other animals and even modify them for their needs. Very similar to the project's technical specifications, right? Also, since almost all my projects have double meanings in the Kazakh language, I think Myna also emphasizes the value of the project.
Let's break everything down!
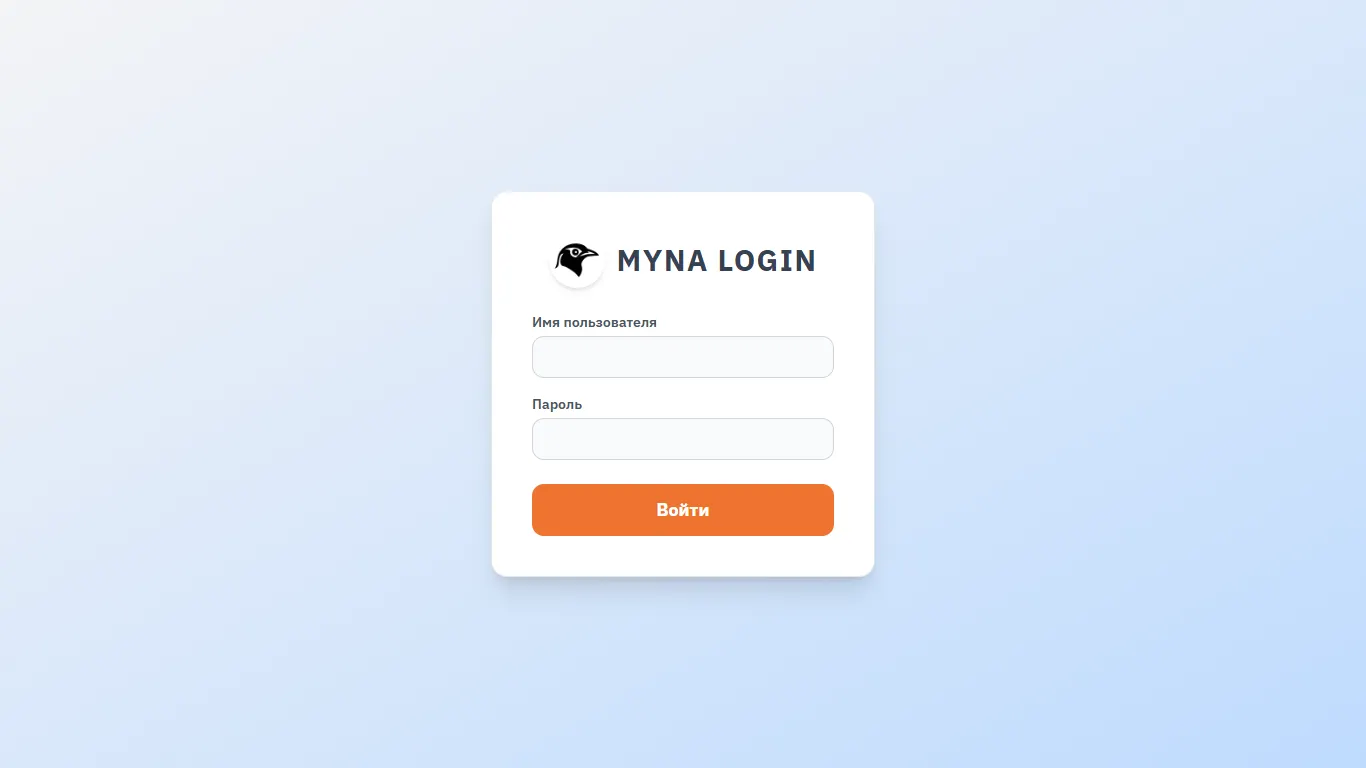
The first thing we see is the authorization form. There are two types of users (in general, any roles can be invented); the difference between users is the ability or inability to change system settings.
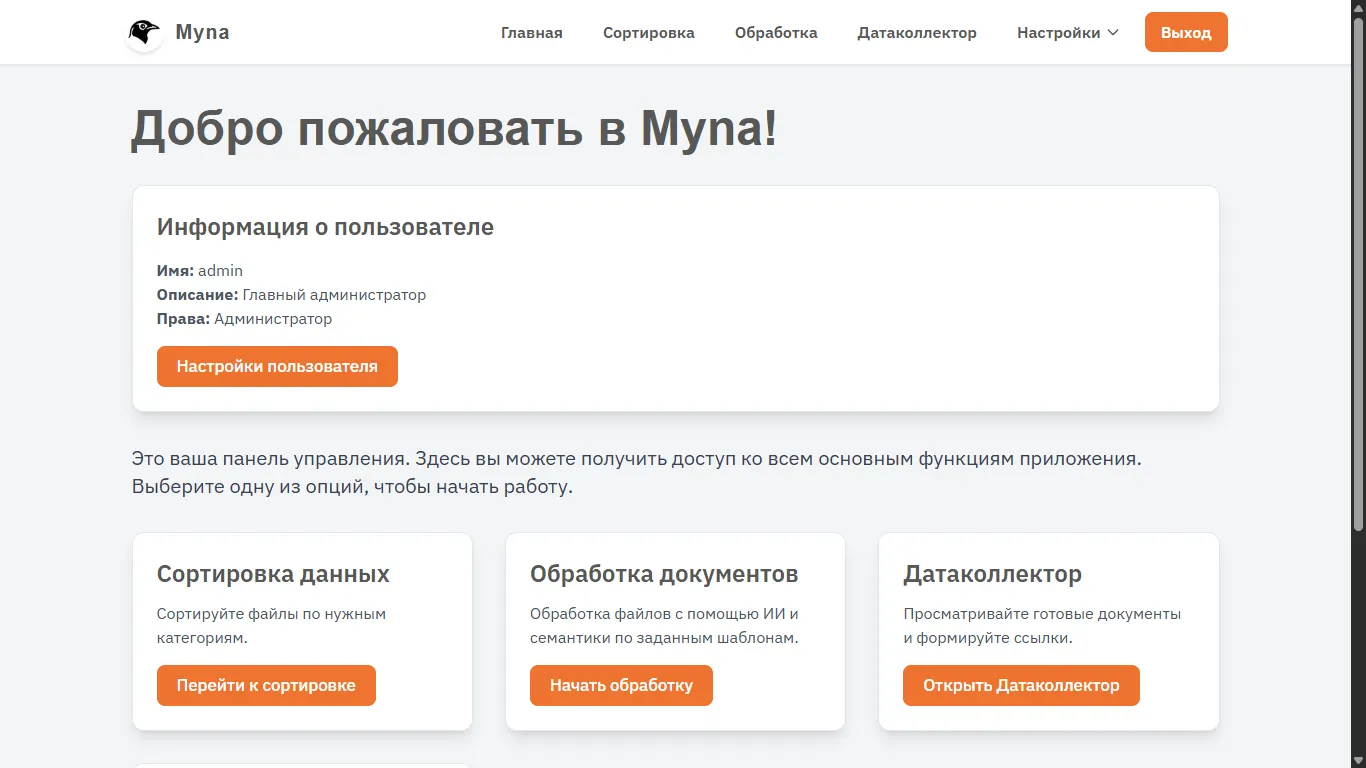
After authorization, we get to the main screen; there isn't much interesting here yet. In the future, I want to display various analytics and pushes here, but for now, we just duplicate the buttons, show user information, and briefly describe each of the sections (the settings button didn't make it into the frame).

At this stage, I will digress a little and briefly explain the workflow:
1. Sorting source documents based on the existing registry
2. Transferring source documents using their existing categories and codes
3. Processing documents using AI and transferring them to the final data collector
To fit the whole page in the frame, I slightly zoomed out. During sorting, we are explained step by step what to do, so far no one has been confused or violated the order.
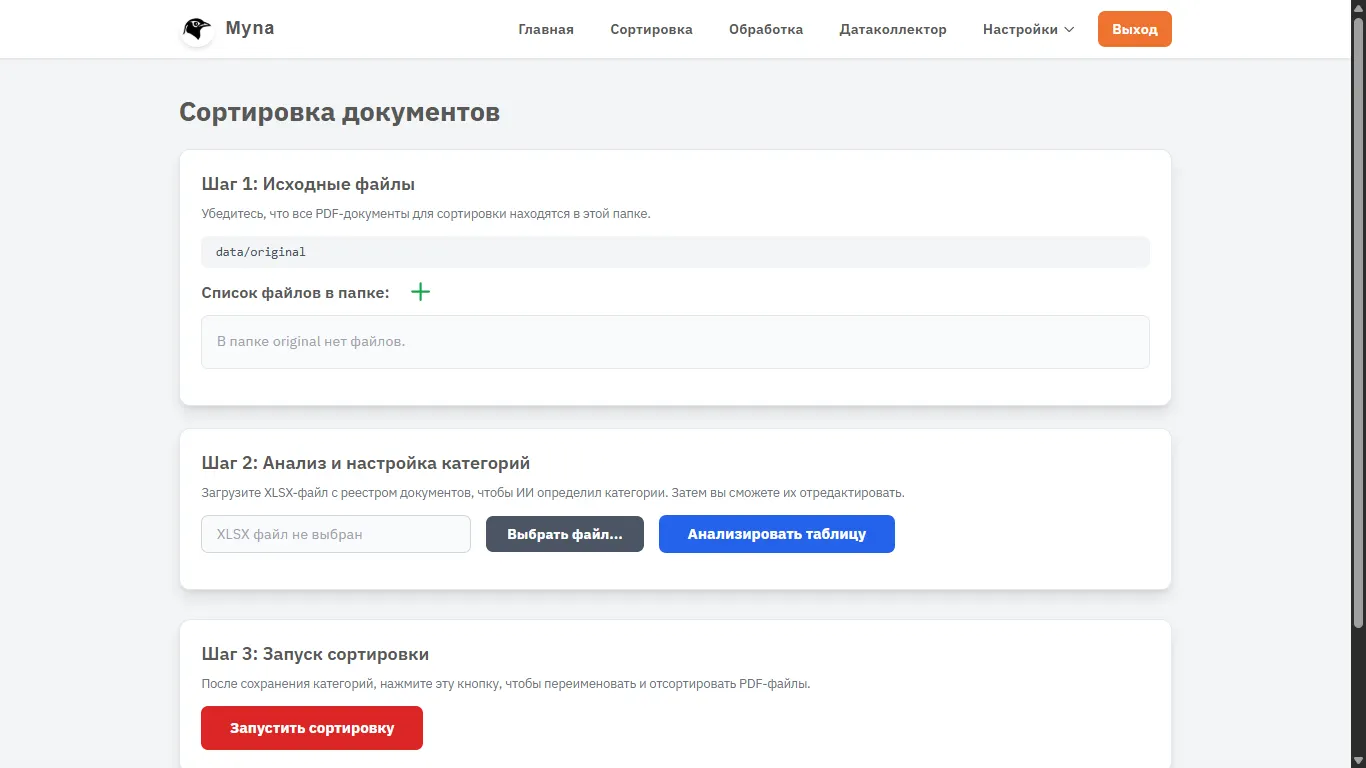
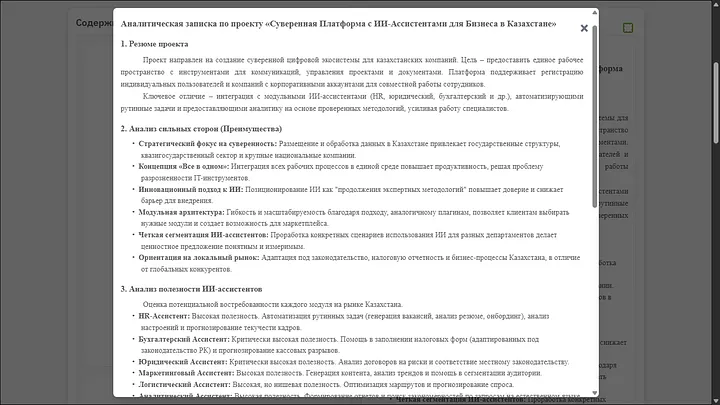
Source files. I'll add a couple of my files here for now. An analytical note and a feasibility study for one of my projects.
As you can see, the system says that the documents will be placed in the data/original folder
This is important, because any of the folders for the system's operation can be changed. By default, there are three directories — original for source files, sorted for files after sorting, assigning codes, and renaming, complete for files after final processing. But in the settings, you can change them as you like (I hope Linux won't scare them).
For example, I will create a new table that will play the role of an existing document registry with codes, descriptions, and file names.

It turned out to be a small table, although there are two items here, I think we can work with this. CBA — Cost-Benefit Analysis PB — Policy Brief
I immediately analyzed the table and as you can see, both categories with names and descriptions were successfully identified. It is important to emphasize — the real registry has been filled for years, it is much heavier, contains a huge number of codes, names, is structured, and has different subcategories. But it is always successfully identified using AI.
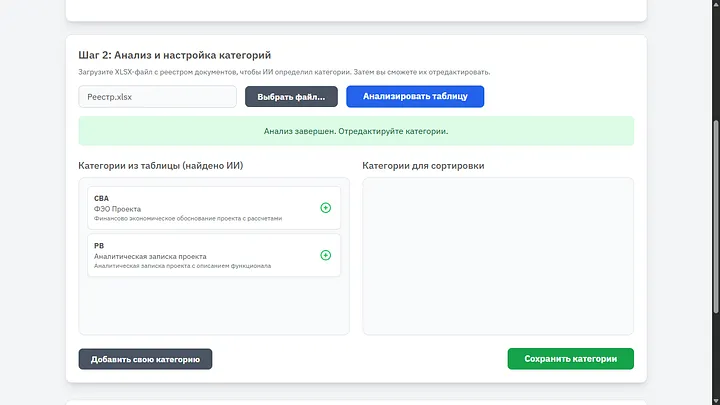
It is important to move the necessary categories to the right; if necessary, you can change their name or description, you can add a new category if we want, and then save. The system will work only with those categories that the user has selected.
Click “Start sorting” at the very bottom of the page and go to the “Processing” tab.
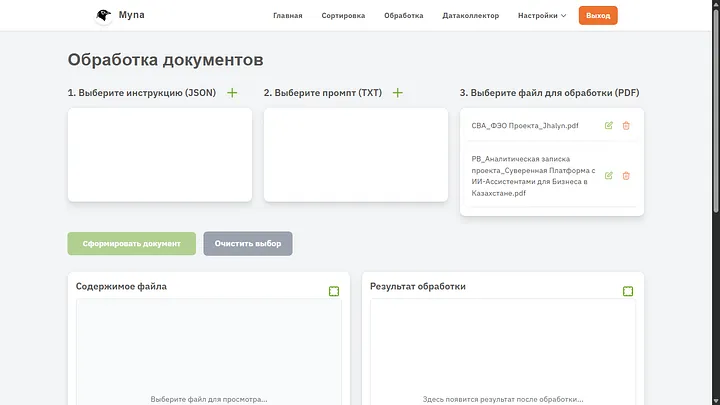
So, let's stop here a little more detail. What is needed for a document to be processed correctly using AI? Surely a good prompt and preferably a style it can rely on. Now we will deal with creating both styles and prompts. For now, you can see that both documents I uploaded received the correct codes and more constructive names.
Creating JSON — is essentially a style for our document, it contains CSS, you can write it manually if you know what to write, or trust AI again; I introduced such a parameter and got a very good result.
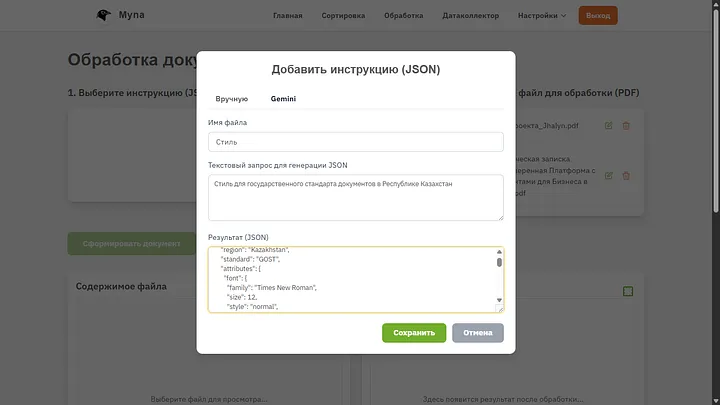
If you put just CSS in JSON, it will also work, but during generation, we received a lot of additional information that AI will also need. If the user is advanced enough, they can write the code themselves. In any case, you can ask AI to generate anything, even colorful letters with a comic font.
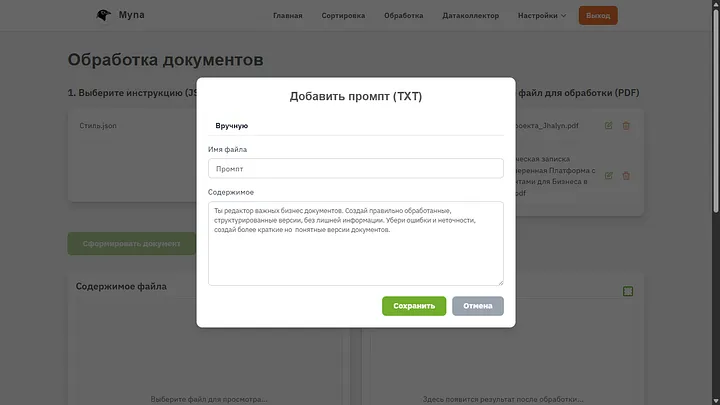
Editing the prompt. Here it is important to set as much information and instructions as possible, this is the most important step. During real work, these files can be very large and include very important steps during document processing, but for clarity, I simplified everything very much and just told it to make versions shorter, without fluff, and remove errors.
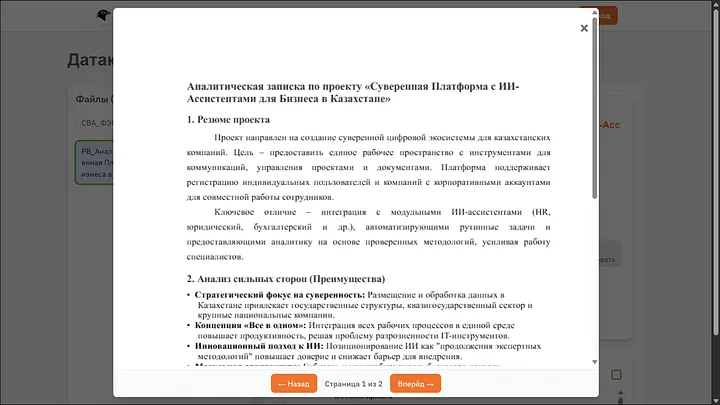
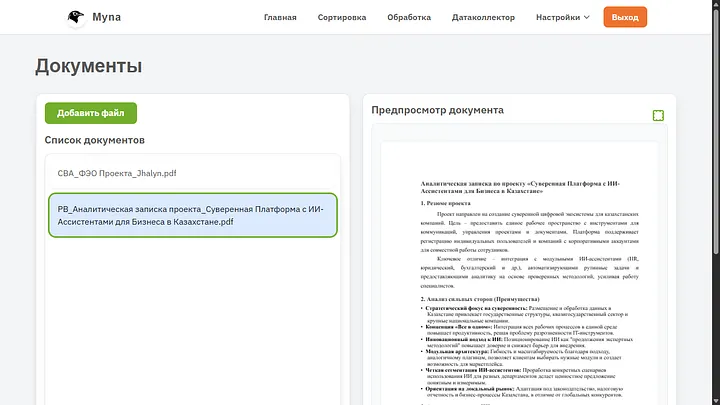
When we click on any document from the list, we can see the full text in the preview window.
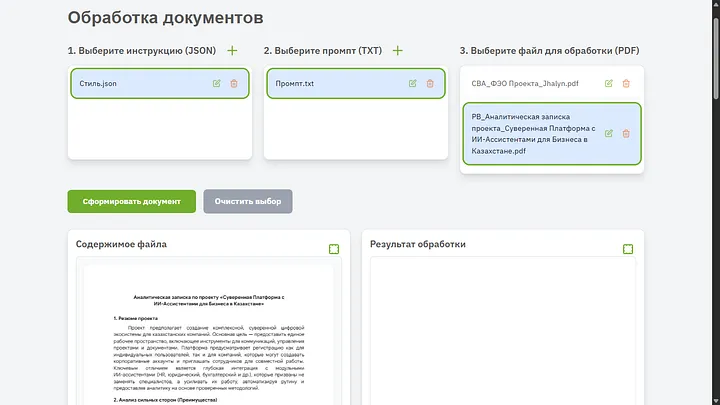
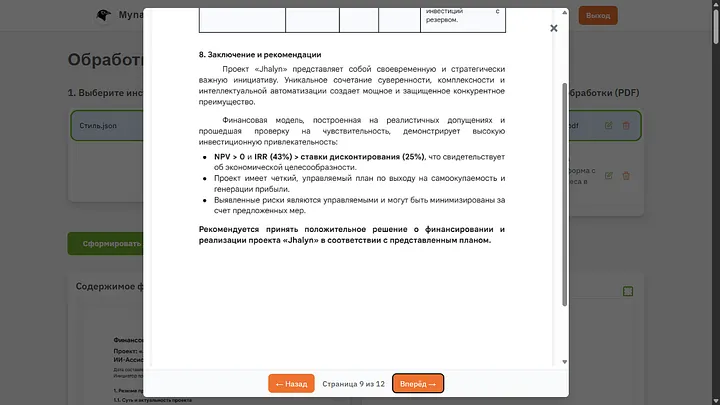
And for convenience, there is also a full-screen view in a modal window with page pagination.
Click the coveted button “Generate document”, we see the text “Generation in progress, please wait”.
If the document is small, like mine, the generation will be fast. If there is a document of 50+ pages, you will have to wait a couple of minutes.
Generation takes place in three stages: 1. Extract all text from the PDF document and divide it into segments 2. Process the document according to the text instruction and place the result in the buffer 3. Apply the style we selected to the text from the buffer
All stages are separate requests to AI; it is better not to combine them, otherwise a lot of artifacts come out. Tests have shown that it is better to complicate things a little and make several requests.
A few seconds later I received this result:
This is HTML for now, now the task is to save it in the data collector, move to the very bottom and see another nice bonus.
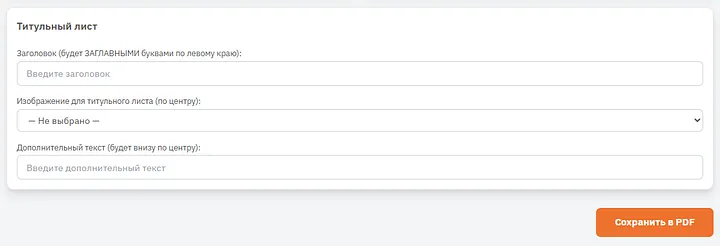
We can give the document a title page (if we want), give it a heading, choose an image and text for the header/footer. For now, we'll skip this as unnecessary and simply save the document.
Just in case, I processed the second document too. Now an important moment. After each document save, information about it is placed in a special table. This is essentially a new registry of documents, it stores the code, name, path where the document is located, and its summary — a brief extract about the essence of the document (this is important for future work). The table itself can be seen in the settings, but more on that later. For now, let's go to the data collector.
Simple, functional, accessible. As you can see, both files after generation contain the correct names, codes, and they can get here only after AI processing (or manual addition, but more on that a little later). In general, during generation, two debug files are also displayed here to quickly identify a poorly processed document and how it all worked from the AI's point of view, but I deleted them for cleanliness; later I will show a tool even cooler.
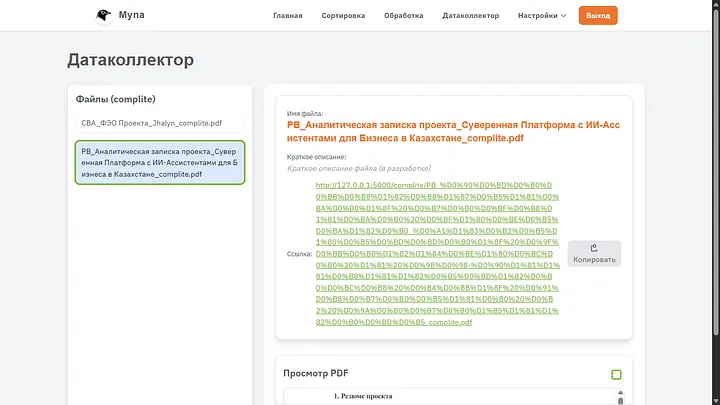
I launch the project in a separate version on my computer; clearly, for FLASK in my case, there will be no reverse proxy, so we will see localhost with the default port and a very terrible link, forgive me for that.
If you look at what happened, you can see that the AI followed the instruction exactly, the style is indeed the one I set during generation, and it followed the instruction I wrote. Among the errors, I can identify that the header is not centered, but this is neither in the style nor in the instruction, so we will forgive the soulless machine for such an oversight.
That's basically it. Sorting — Processing — Data Collector.
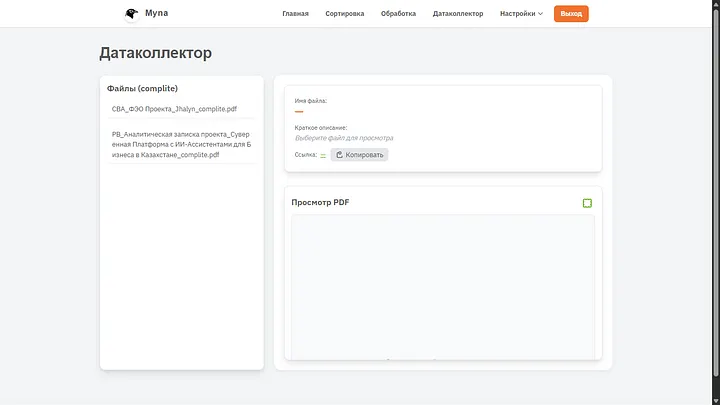
Calling this a data collector is of course a big statement, but you want more importance in the project. From here you can share files directly, simply by copying the link, or view existing ones. Good? Good.
For now, let's go to settings, there are three items — basic, history, bot. I'll tell you about everything in detail, this is important. I cleared something for obvious reasons, but it is clear what and how it should work; I will show it in fragments because the entire section will not fit on the screenshot.
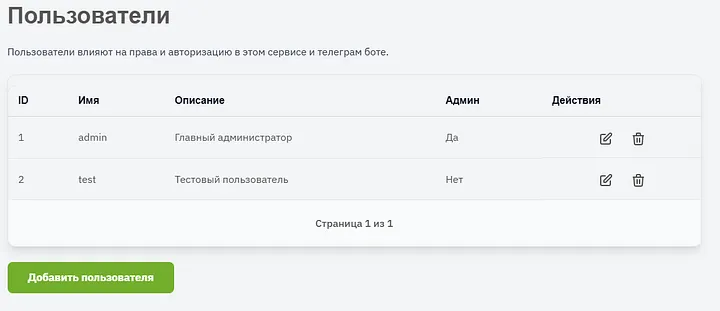
We add users, give them a description, grant rights. Any user can be deleted or edited (including the login password).
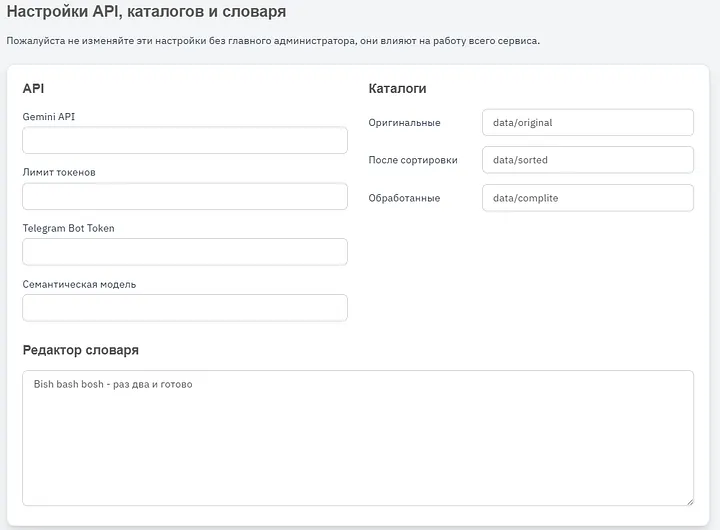
Gemini API — this is the key for the cloud Gemini API Token limit — just in case, usually I set the available context window limit Telegram Bot Token — needed for the bot to work, only Bot Father gives this token Semantic model — important for working with tables and summaries. Like in most of my projects, I use sentence transformer Directories — as I said, we can specify any we want, we can even change them during work and then jump between different versions of folders with different documents. Dictionary editor — this is needed because it is used during processing, there is various very specific terminology and description, this is not literally a dictionary with translations, this is a dictionary with descriptions (but sometimes with translations).
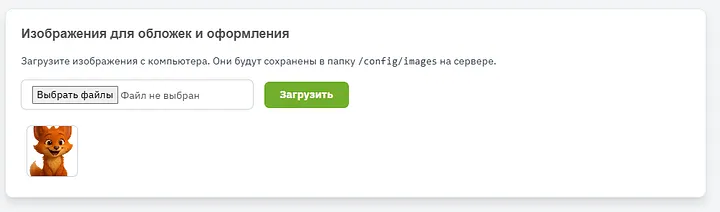
Here you can upload as many pictures as you want for covers with documents. For clarity, I uploaded only my fox Ara. Pictures can be viewed in a full-screen modal window.
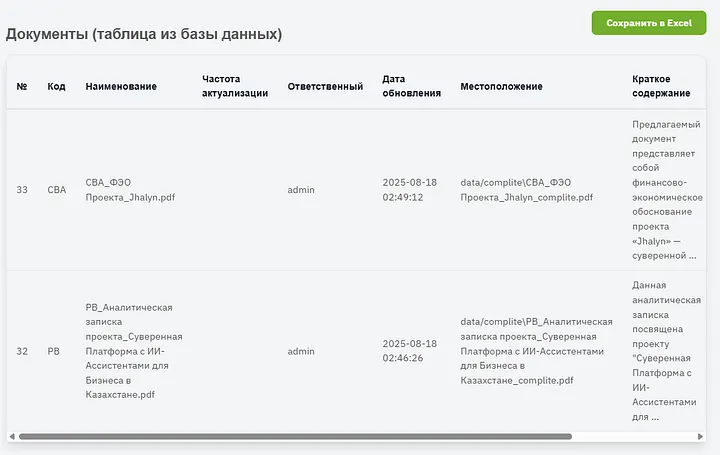
And here is the final table I mentioned above. It can be saved as an XLSX file, or viewed right here; on the right there are more columns where you can immediately open or download the document. As you can see, the summary is identified well, there is a limit on showing text in cells, in fact there is much more of it there.
Let's move to the next settings section — History. This is not exactly settings, of course, but I considered this the most reasonable place to put this page.
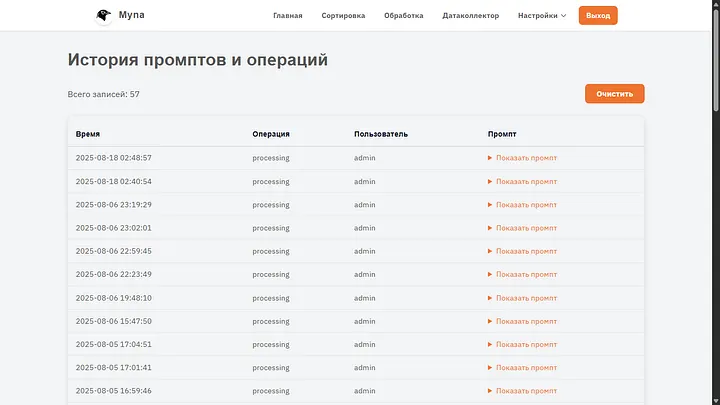
Here generally all user actions with documents are stored, who processed them, how and what happened in the process.

The entire text of the document, instruction, and dictionary go as a single task for AI. The JSON for auxiliary information also arrives there; in any case, it is re-processed during the generation of HTML.
The third section is called “Bot”, here in general, as in the data collector, a list of documents with which the bot works is shown, but an important difference is the ability to add documents directly here.
Also a preview window. If we want to add a file without sorting and without processing, this can be done with one button. But AI will read it anyway to add to the registry table and create a summary for it.
It remains to show the bot's work. I have a project Promptly, basically the bot code in this project is exactly it, only heavily modified and much simplified. The test token also remained from it.
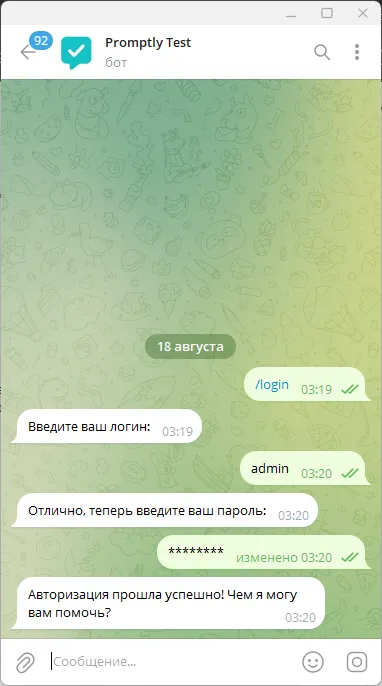
Authorization with exactly the same credentials that are set in the main project. It is possibleto use single accounts by multiple users, there is nothing wrong with that. But the session in the bot lasts only 8 hours, then you will need to log in again. Information is recorded in a separate table for the bot and linked to the telegram account userID , we do not store any more information about the user.
And here is the result of the request. For each document, a brief description of the request is displayed, and then an inline button with a link to the document itself.
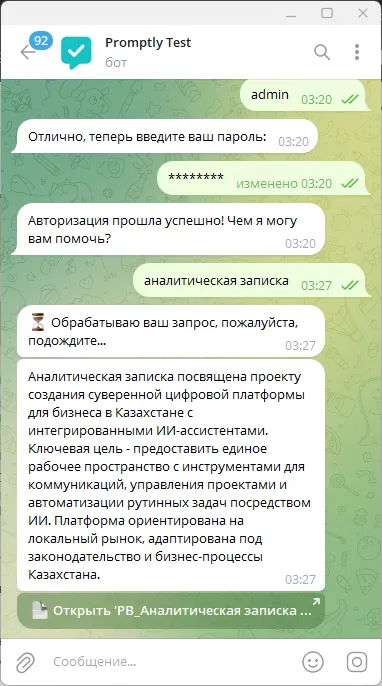
If there are several relevant documents for the request, then there will be several messages (but not more than three) with a brief description of each and links to documents. There is an internal setting right in the bot, you can choose how to show the results — in one message or separate ones. If we want one message, the answer will be generated in such a way that the user pays attention to differences or important points in the documents, and then received a list of documents with buttons in a column.
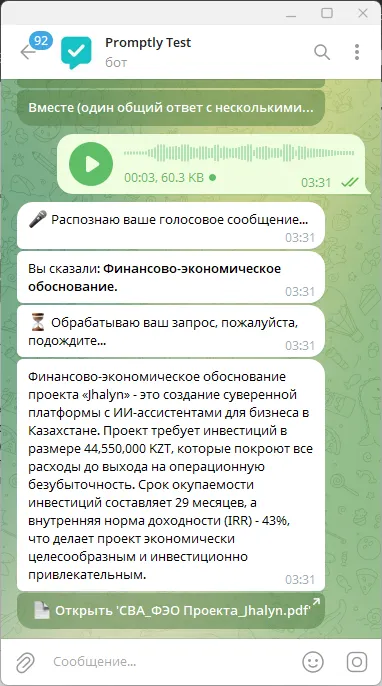
And of course a bonus — you can send requests even by voice, and in three languages (English, Kazakh, Russian).
Here is such an interesting and functional project.
If you read to the end, thank you. I hope no one got tired, but if so, here is more information about the project's technical stack:
The entire project was written in Python 3, and the micro-framework Flaskwas taken as the basis for the web application. For working with the database, SQLiteis used, while aiosqliteis used for asynchronous operations, and the standard sqlite3for simpler ones. File handling is implemented using standard modules Python (os, pathlib, shutil) and Werkzeug, which ensures secure file uploads. A custom module fileprocesswas created for document processing, which, in turn, uses extract_text_from_pdf to extract text from PDF files. Reading Excel files is carried out through a custom module read_xlsx_to_list, and for generating PDF from HTML content, Weasyprintis used. For working with external AI API, a custom wrapper module geminiis used, designed to interact with Google Gemini API. The project also includes a logging system, a Markdown parser, and standard modules for working with JSON and regular expressions. As for the frontend, it is built on Jinja2 templates and uses static CSS and JSfiles. Also, work with user settings, roles, and image uploads is provided, and database migrations and initialization happen “on the fly”.
To be honest, I just asked the AI to write this paragraph right inside VScode :)
Thank you for your attention to everyone who read!